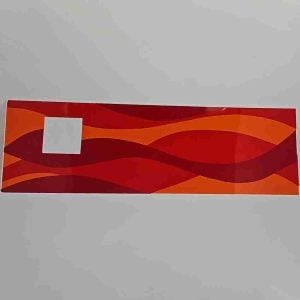
These are AY premium side decals. Instead of being a thin vinyl decal these are a matte finish hard decal. Minor imperfections will not show through on these. These require use of spray adhesive such as 3M Super 77 or Super 90 products.
When you first receive your decals, we recommend you unpack right away and lay flat, we roll them up to ship. Give them a day to lay flat to make install easier.
To prepare the cabinet, first perform any wood repairs, smooth it out. If your cabinet is in good shape, simply clean it really well. Make sure you clean off the soap cleaners. A magic eraser works well and also “LA Totally Awesome” to remove nicotine. But always end with a wet towel to remove soaps that might cause adhesive issues.
On the DS Where the white and light blue are, it is recommended to use a white paint on the cabinet in these areas, so the opaque portion of the new side decals does not show through. You can lay the decal on top to check the appearance. You may also want to paint the bottom edge and back of cabinet adjacent to the decal for best results.
Remove the locks, coin door trim and coin return cup, It will be easiest to lay the jukebox on its side and do one side at a time. The decal can slip under the stainless trim, but the cast lower corner is best to remove. The more you remove the easier it will be to install.
Check fit prior to gluing down. The bottom and back of the cabinet should line up. The lock hole may be slightly off from cabinet to cabinet, but this is ok because the lock will cover up any variation. On the AY the medallion should be as centered as possible, this is the most important part.
Glue down following adhesive manufacturer’s instructions. You may benefit by taping on side down, lifting and gluing half at a time to ensure location stays where you want it. You may want to mask the front of the machine to prevent glue overspray from landing on the glass and metal.
After glue is cured, on the right side you will need to trim out the coin door hole and coin cup hole. This can be done carefully with a utility knife. Put a brand-new blade in for easier cuts. Have trim and cup handy and trim lining up with the hole in the cabinet checking fit as you go. Note, if you are on freeplay you can always decide to just leave the coin cup not cut out and not installed.
Reinstall all removed trim and enjoy.